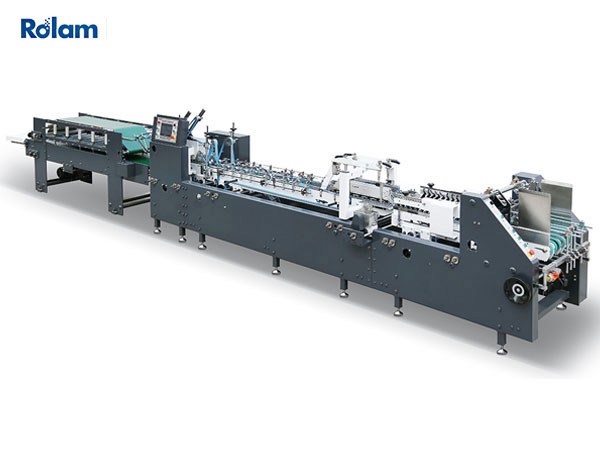
Folder gluing machine tuning steps
1. Check the work order and sample carefully, determine the gluing glue to be used, and get it ready;
2. Adjust the width of the gluing box stopper, both sides should be parallel, and just put down the semi-finished color box to be produced, and the side stopper on both sides should be less than 1mm from the color box, then adjust the restriction bolt to make sure that each - only the products to be glued pass smoothly without the phenomenon of stumbling;
3. Adjust the slope and height of the support frame of the box to be glued area, so that the products to be glued can go smoothly without stumbling, and then adjust the auxiliary guide and flow wheel. Make its size suitable for the specification of the color box to be glued;
4. Adjust the gluing belt and the gluing guide, then adjust the gluing host and wheel off pressure, and the cross fit of the belt;
5. Adjust the gluing cylinder, and check whether the glue of the glue cylinder is sufficient, the glue water should be submerged 80% of the glue wheel, and then adjust the glue cylinder and the glue position;
6. Turn on the power switch, Mada switch and vibration on/off key, press "Run" or "inch" key after machine adjustment, press "Paper" key to debug the machine, and check whether there is any abnormality in machine performance, the skewed phenomenon should be corrected immediately;
7. After the debugging ok, carry out the first test machine 5 - 10 sheets, to confirm the position and forming specifications after the debugging machine speed;
8. When gluing the box, pay attention to the state of gluing the paper, not to exceed the line, offline or misalignment, so as not to affect the appearance of the color box and molding effect;
9. First confirm: strictly in accordance with the first piece of signed samples;
10. Clean up the machine after production to keep it clean.


